
I'm going to tell you how I took this rug from drab to fab! Oh gosh I just love cheesy lines like that. Ok, so I posted before about my project with my hubby to build a bike rack for our apartment - well the cost-effective furnishing endeavors continue with this little redo project.
It has taken us months to make this apartment feel like home. When you are working missionaries in a new city, it can take quite some time to save up for furniture. That's why I'm trying really hard to use what I've got to make this place feel cozy and comfortable. And what I've got is a sad-green (that's the best way I can describe the shade it is) woven rug my friend Mikeah donated to me a few weeks ago. I had some green place mats so I was hoping it would work in the dining area. Because, you see, we have some pretty ugly tile as our flooring in this place so anything to cover some of it up was greatly appreciated.

The only real problem I had with the rug was the fact that it had to be placed right next to my RED couch - can you say "Christmas" anyone???
After deciding something had to be done, I began my research. There are tons of posts on pinterest and google about redoing rugs (especially these woven Ikea ones). The only thing I was hesitant about was: with dying, you need a washer and dryer to complete the process (which I don't currently have) - or with painting, people reported that the paint dries a bit stiff and changes the "feel" of the rug. I really didn't want the feel to change too much so I decided to start the process of dying it.
Step 1: Bleach the PooPoo Out of the Rug
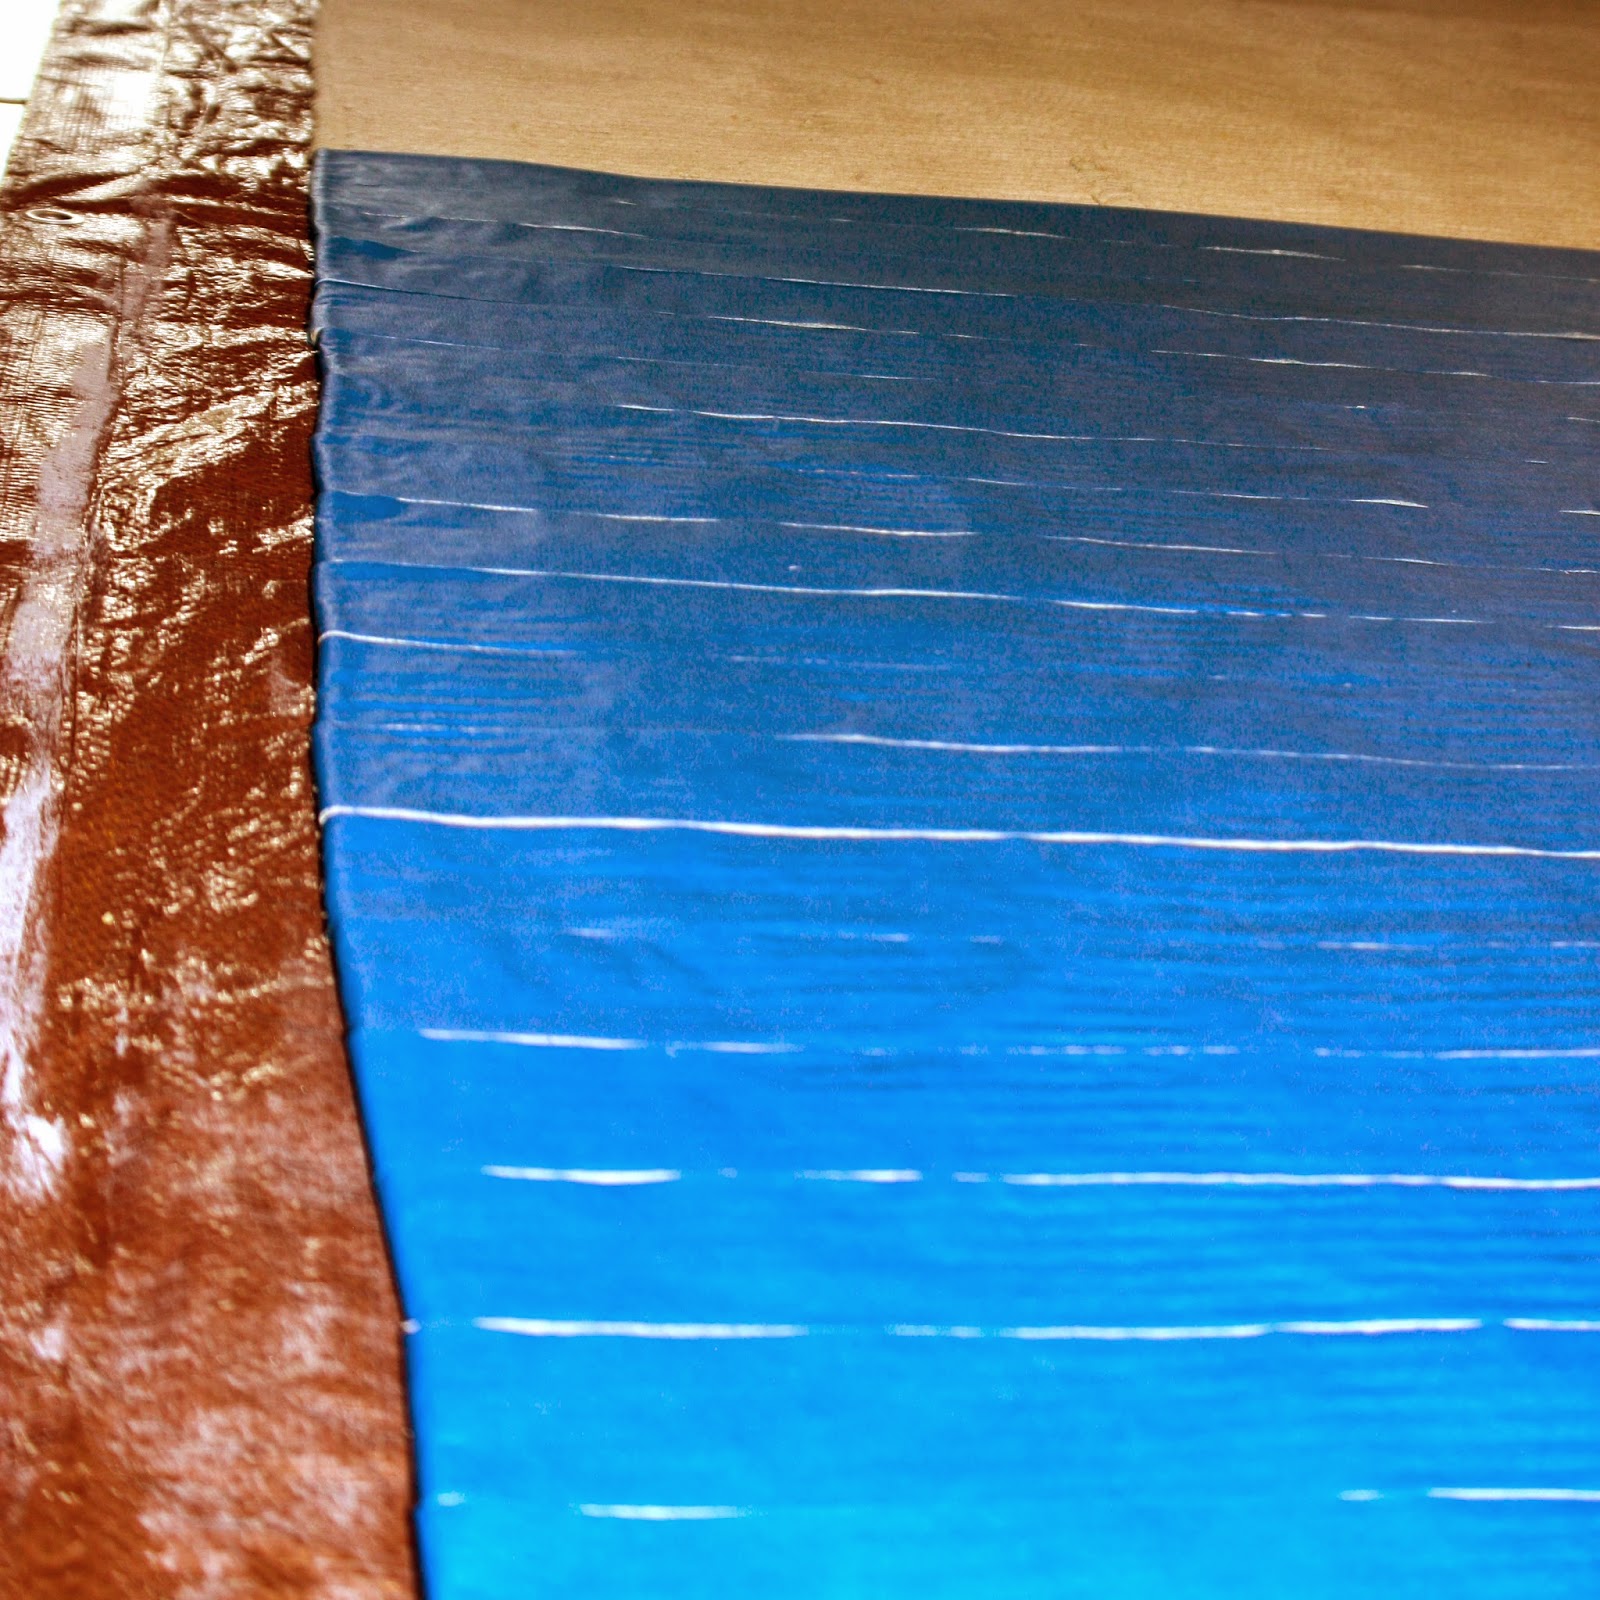
I dragged the rug out onto our little porch and filled a cleaning bottle with bleach from Target and sprayed it evenly over one side of the rug.


I had read in someone's blog about bleaching this way if you taped off a design and just wanted the untaped sections to be bleached it works well. I didn't want any green at all so I sprayed the whole thing (you could bleach the rug in the tub but I used much less bleach this way - since no one will be turning over the rug to see the undone side). I let the rug dry overnight outside.
Step 2: Rinse & Rinse Again
I dragged the rug into the tub and rinsed the bleach out that way. I let it sit a minute and then ran the water again to make sure all the bleach was rinsed off. After squeezing most of the water out, I hung it outside on the porch railing to dry overnight.

The side that I bleached still had a light green tint to it but it was mostly cream looking. I read a few more blogs about people ruining their washers and dryers with dying projects, or staining their bathtubs so I decided maybe that wasn't the best option after all. I changed my mind and decided to paint it after all.
Step 3: Use a Foam Roller to Paint on Your Base Color
I used regular flat latex interior paint in an "off-white" color and mixed it 50/50 with water. I read about someone doing this and it kept the rug from getting too crunchy.


Above you can see what the underside looks like in comparison. I was so pleased with the difference I almost stopped there and just had a cream rug. But, with most DIY projects...it's hard to stop once you start. Now comes the fun part...
Step 4: Tape - Very Carefully and Meticulously (you will hate tape after this)
I chose an alternating stripe pattern because I refuse to have a trendy chevron rug...and because I am way too lazy to actually design one.

For this pattern, all you have to do is tape in straight lines horizontally all the way over the entire rug. I used 1 and 1/2 rolls of 1.88" width painter's tape from Walmart. Then use a knife (yes I did use a steak knife from my kitchen) to cut a lateral line down the rug at the 1/3 and 2/3 width marks (I totally guessed but if you are more precise you can use a measuring tape and a long plank for these steps). Then just strip of the little sections of tape in an alternating pattern!
Step 5: Use a Foam Roller to Paint on Your Top Color
All I did for achieving the grey color was to add a small bottle of black acrylic craft paint to the half gallon of off-white that I had left - I cut paint 50/50 with water again.


I used a foam roller that was about the width of my stripes - but you can see I still ended up painting most of the blue tape...heehee. Be careful doing that though, because as my husband found out when he was helping me, the tape doesn't have the best grip on woven surfaces and so can shift very easily. I let the paint dry for a few hours and then removed the strips to reveal my beautiful creation!

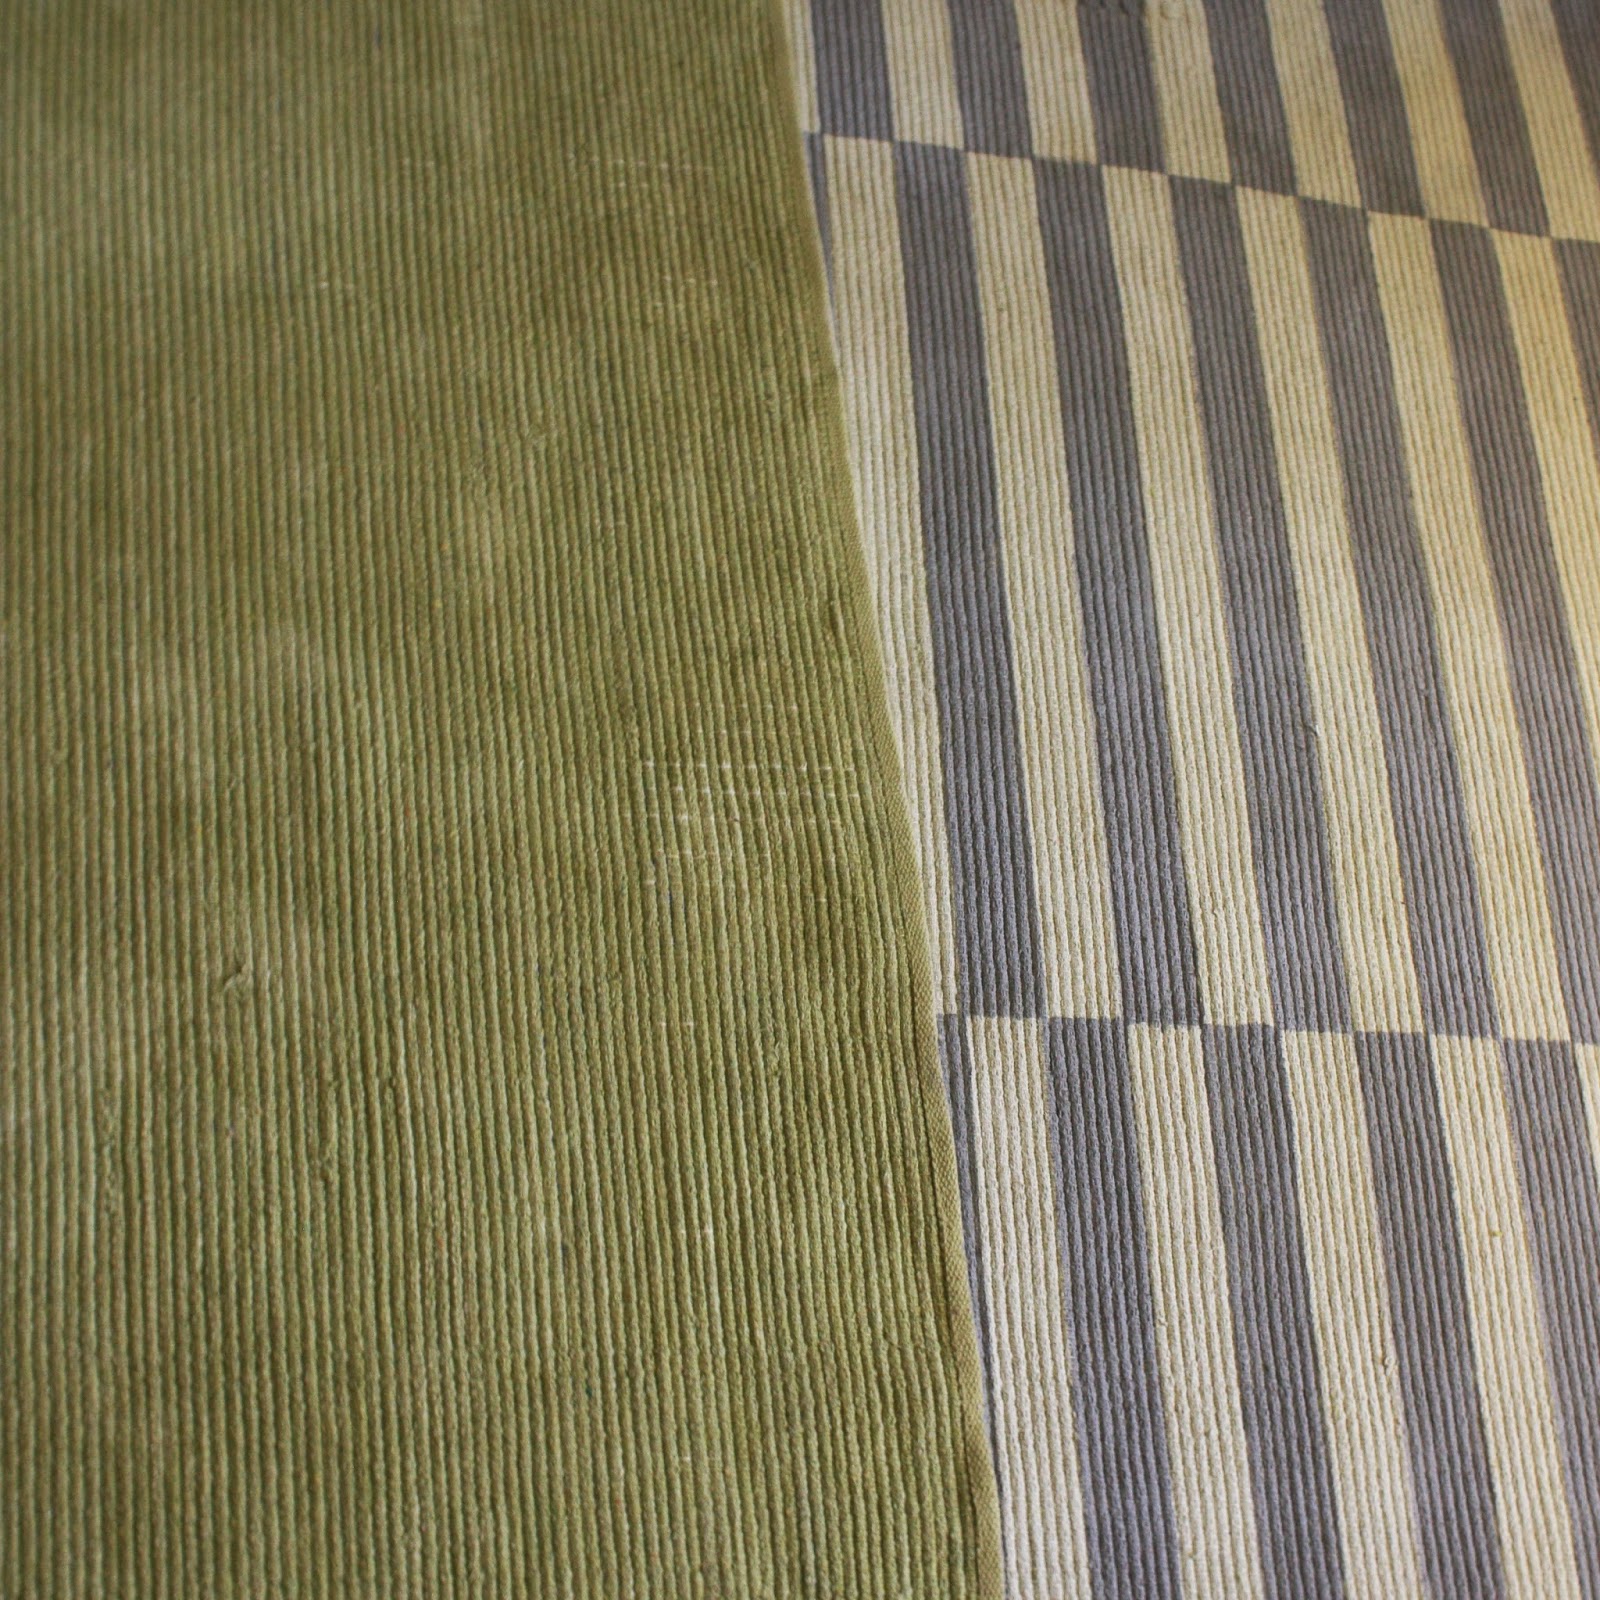
There's the green side flipped over so you can see how drastic the change is. The grey parts are a little more stiff because that is where the most paint ended up on the rug. It's not all that bad though, and I have hope that it will soften up over time. I made sure to spray some scotch guard over it too to protect it for longer term use.
I tried putting the rug back under the dining table but I decided that it actually looks much better in the space by our bike racks where my desk is! I'm so proud of the result - yay for being poor!

No comments:
Post a Comment